Your Terminal Can Be Much More Productive, Beautiful, and User-Friendly!
Transform your terminal into a powerful tool!
If you're still using a plain and uncustomized terminal, you're missing out on productivity.
In this article, you'll learn how to make your terminal more efficient, beautiful, and practical for everyday use!
How About Saying Goodbye to That Dull and "Dumb" Terminal, Where You Have to Do Everything Manually?
That old black-and-green terminal, reminiscent of a green phosphor monitor, is a thing of the past. Along with it, the need to repeatedly perform the same tasks has also disappeared. After all, isn't automation meant to handle repetitive tasks for us?
The following tips apply to almost all terminals and operating systems, but I strongly recommend using Linux (or at least macOS) and the Ghostty terminal. I have to admit, it's my favorite.
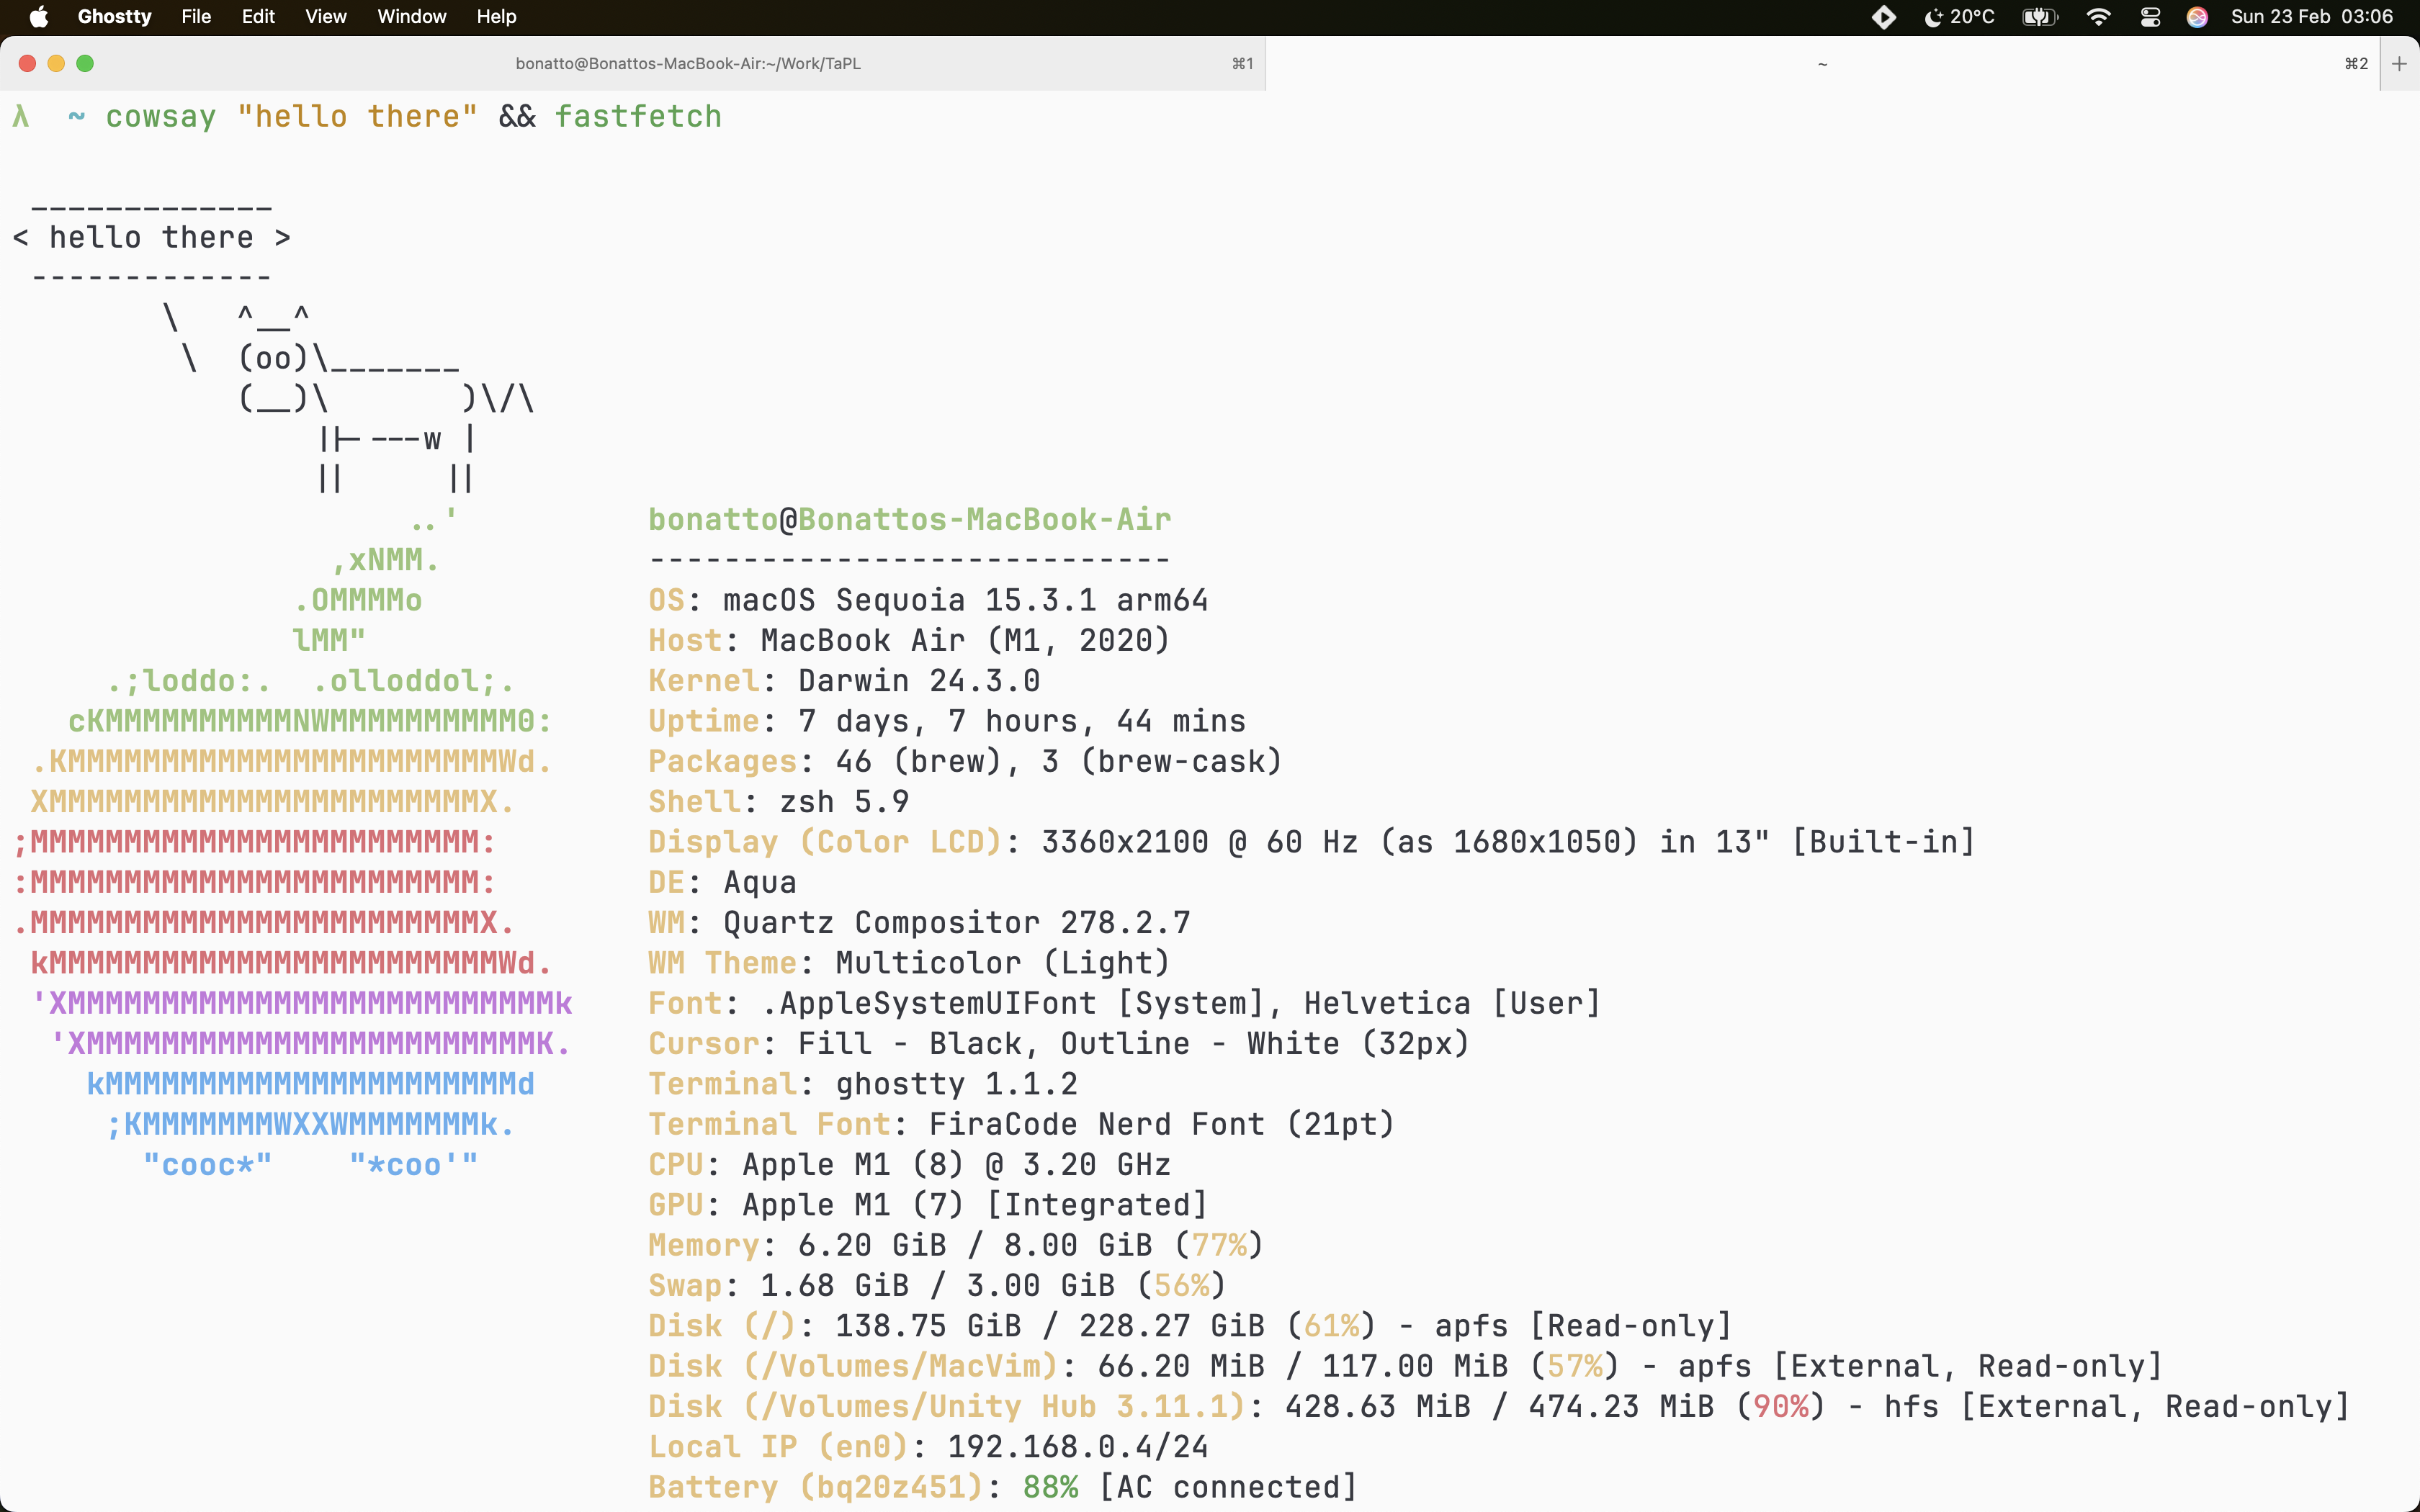
1. Installing Ghostty
For macOS (using Homebrew):
brew install --cask ghostty
For Arch Linux:
sudo pacman -S ghostty
For Fedora (Community):
    dnf copr enable pgdev/ghostty
    dnf install ghostty
For Ubuntu (Community):
sudo apt install ./ghostty_*.deb
For other Linux distributions, Ghostty may need to be built from source or installed via a community-maintained package. Refer to the official Ghostty installation page for details.
2. Customizing Ghostty
Ghostty is designed to work out of the box, but you can configure it to better suit your preferences.
Creating the Configuration File
    mkdir -p ~/.config/ghostty/
    touch ~/.config/ghostty/config
Ghostty uses a simple key = value syntax for configuration. Here’s an example configuration:
# Config generated by Ghostty Config

## Shell
shell-integration = zsh

## Window
window-theme = light
window-padding-balance = true
window-save-state = always
window-new-tab-position = end
window-height = 150
window-width = 150
maximize = true
macos-titlebar-style = tabs
quit-after-last-window-closed = true

## Theme and Colors
theme = OneHalfLight
background = #fafafa
foreground = #383a42
selection-background = #bfceff
selection-foreground = #383a42
cursor-color = #bfceff
cursor-invert-fg-bg = true
bold-is-bright = true
palette = 0=#383a42
palette = 1=#e45649
palette = 2=#50a14f
palette = 3=#c18401
palette = 4=#0184bc
palette = 5=#a626a4
palette = 6=#0997b3
palette = 7=#fafafa
palette = 8=#4f525e
palette = 9=#e06c75
palette = 10=#98c379
palette = 11=#e5c07b
palette = 12=#61afef
palette = 13=#c678dd
palette = 14=#56b6c2
palette = 15=#ffffff

## Fonts
font-thicken = true
font-family = "FiraCode Nerd Font"
font-family-italic = "FireCode Nerd Font"
font-synthetic-style = true
font-size = 21

## Behavior
focus-follows-mouse = true
copy-on-select = true
clipboard-write = allow

## Scrolling
mouse-scroll-multiplier = 2
Ghostty loads its configuration from the following locations in this order:
$XDG_CONFIG_HOME/ghostty/configor, if not set,$HOME/.config/ghostty/config- On macOS, it may also be found at
$HOME/Library/Application Support/com.mitchellh.ghostty/config
If multiple files exist, the last one takes precedence.
3. Enhancing Your Terminal
Installing Fira Code Font
I recommend installing the Fira Code font for better readability and ligatures.
Installing Zsh and Oh My Zsh
For macOS (Zsh comes pre-installed, but install Oh My Zsh):
sh -c "$(curl -fsSL https://raw.githubusercontent.com/ohmyzsh/ohmyzsh/master/tools/install.sh)"
For Linux:
Installing Zsh
For Fedora:
dnf install zsh
For Arch:
pacman -S zsh zsh-completions
For OpenSUSE:
zypper in zsh
For Ubuntu:
apt install zsh
For OpenBSD:
pkg install zsh bash
Installing Oh My Zsh
curl -fsSL https://raw.githubusercontent.com/robbyrussell/oh-my-zsh/master/tools/install.sh | sh; zsh
If your terminal doesn’t switch to Zsh automatically, use this command:
sudo usermod --shell $(which zsh) $USER
4. Installing Plugins
Two useful plugins are zsh-syntax-highlighting and zsh-autosuggestions. To install them, run:
git clone https://github.com/zsh-users/zsh-syntax-highlighting.git ${ZSH_CUSTOM:-~/.oh-my-zsh/custom}/plugins/zsh-syntax-highlighting
git clone https://github.com/zsh-users/zsh-autosuggestions $ZSH_CUSTOM/plugins/zsh-autosuggestions
Activating Plugins
Edit your ~/.zshrc file and add them to the plugins list:
plugins=(
    git
    zsh-syntax-highlighting
    zsh-autosuggestions
    catimg
    copybuffer
    copyfile
    dircycle
    dirhistory
    extract
    git-prompt
    gitfast
    gitignore
    history
    jsontools
    fzf
)
Installing Fzf (Optional, but Recommended)
git clone --depth 1 https://github.com/junegunn/fzf.git ~/.fzf && ~/.fzf/install
Final Thoughts
If you followed all the steps correctly, your terminal should now be significantly more powerful, beautiful, and user-friendly!